Recipes For Success
Thank you for choosing Country Fried Creative to build your website! We do our best to set our clients up for success, so here are a few training tips to help you do some basic edits to your website.

Let’s Get Started With The Basics
When your website goes live, a Country Fried Team Member will share a document with you that contains your login URL (the website address you go to for logging in) and your new username and password. Furthermore, You will need this to access the backend of your new WordPress Website.
Moreover, If you do not have this document, please contact us at helpdesk@countryfriedcreative.com.
LOGGING IN TO YOUR WORDPRESS WEBSITE
Before you can make any changes to your website, you will need to log in to WordPress to access your content.
Using the document our team provided you, go online and visit the login URL you were given. Then, you will be prompted for a username and password. Enter that information and complete the site reCaptcha.
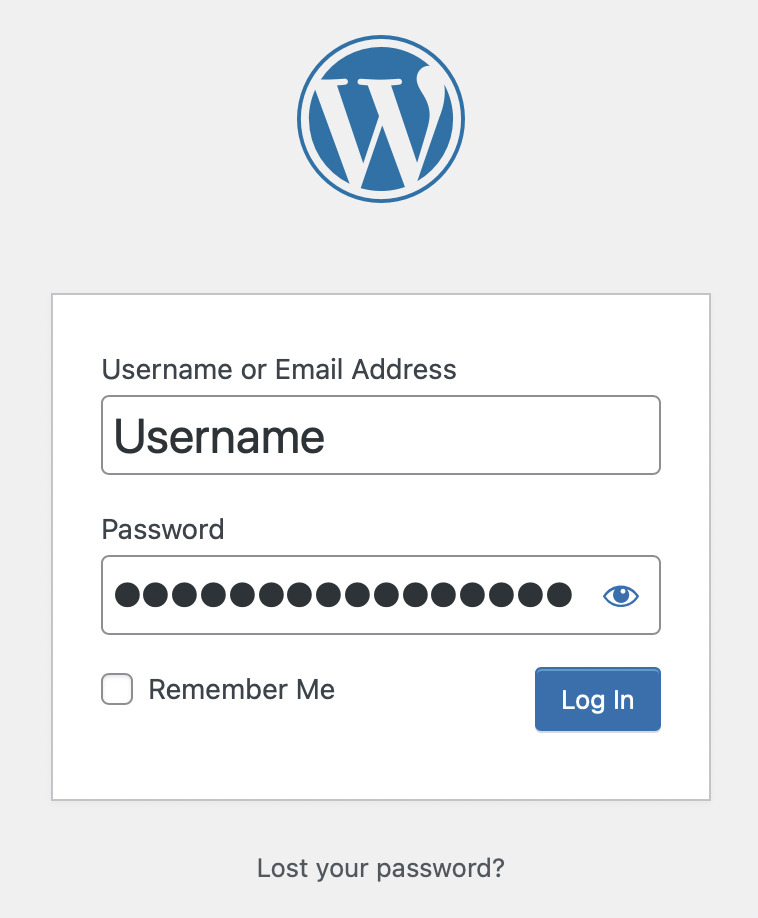
After you have entered that information and logged in successfully, you will be taken to the backend of the WordPress website.
You are now successfully logged in to the website!
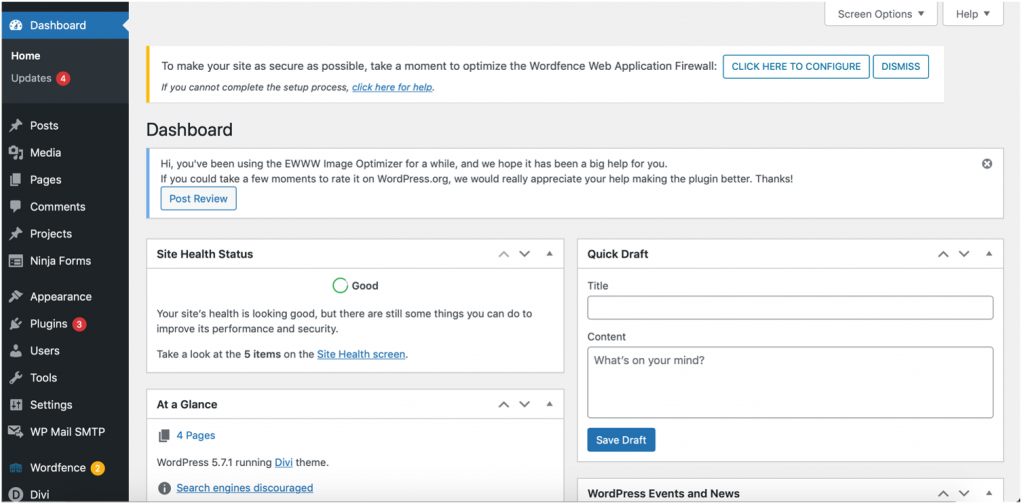
WHERE DO I GO TO EDIT A PAGE?
Once you log in, you will be redirected to the dashboard. Visit your homepage again and you will see a black user menu at the top of your website page. Navigate to the page that you would like to edit and then click “Edit Page” with a pencil icon next to it in the top user menu.

EDITING TEXT
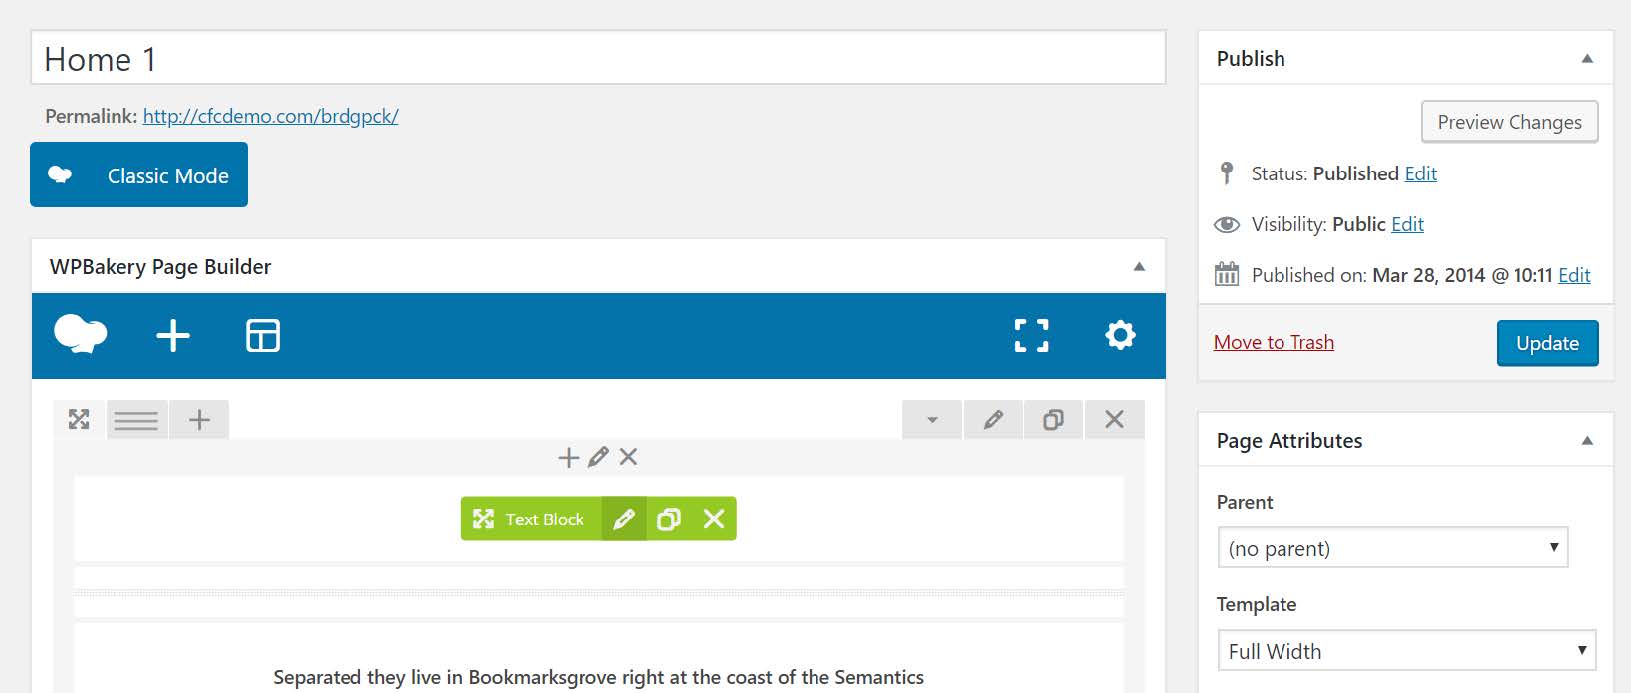
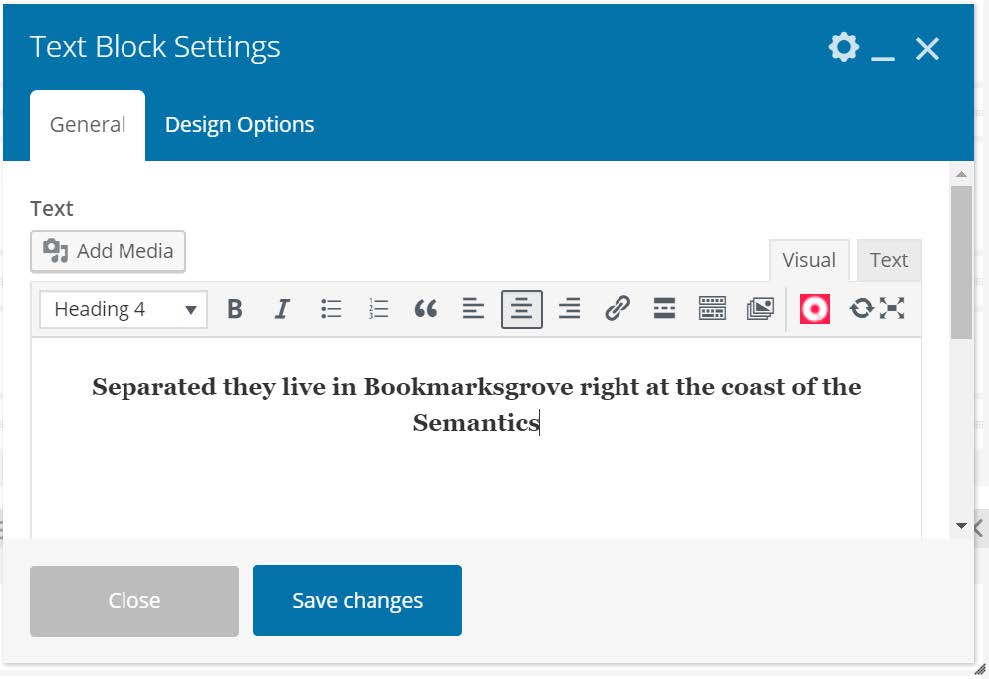
Scroll down a bit on the edit page and you will find under “Visual Composer.” The page is created out of blocked sections (it’s a drag and drop page-builder format). If you hover over each section a green toolbar will show up. Click on the pencil icon to start editing. *IF YOUR SCREEN DOES NOT LOOK LIKE THE PICTURE BELOW, MAKE SURE THAT
THE “BACKEND EDITOR” BUTTON IS SELECTED UNDER THE TITLE.
CHANGING IMAGES/PHOTOS
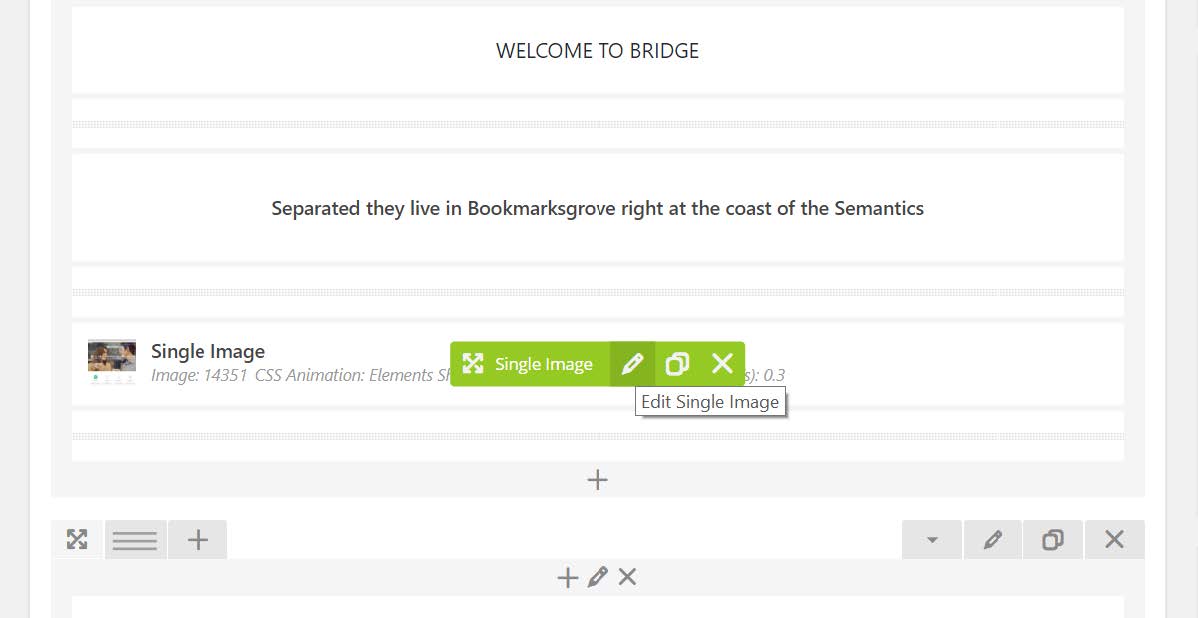
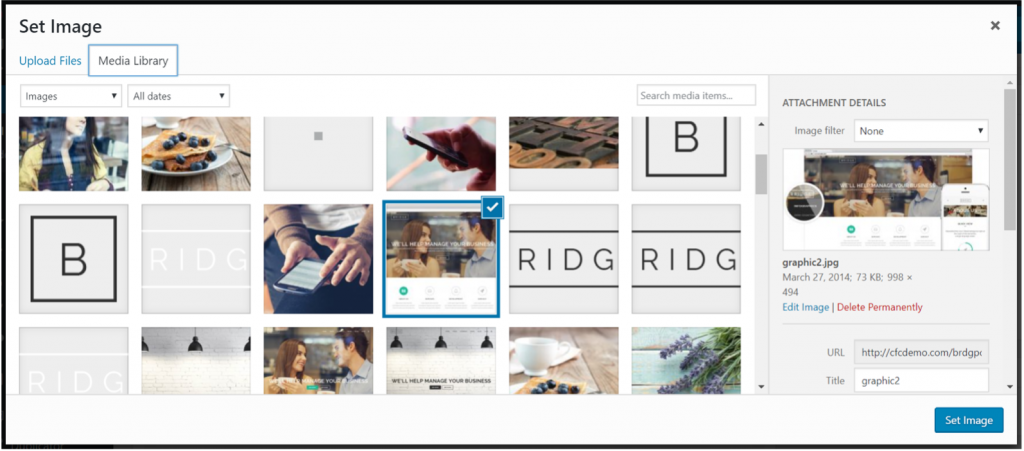
Changing photos on the website is as easy as editing text. Find the section with the image, usually labeled Single Image, that you would like to change and hover over it.


CLEARING YOUR SITE’S CACHE
Most WordPress sites,store static content like images from a website to make your subsequent visits faster. Sometimes they don’t rebuild the cache immediately after a web page has changed. Instead of fetching a fresh copy, they may still reload the page from the cached version. Clearing the page’s cache or the entire site cache will clear out the old data, so the new elements show up on the page.
There are other times where the site’s theme may try to “minimize” CSS/JS code, that can make images disappear or pages look broken. Deleting the site’s cache and the minified CSS/JS will normally fix this issue.*
To clear your website’s cache, simply login to the WordPress dashboard and navigate to WPFC on the top menu bar. Then, you will see a jaguar head icon and the letters “WPFC”. If you hover over this, a dropdown will apprear. To clear the cache of the current page you are on, select/click “Delete Cache” (see screenshot attached for a visual example). To clear cache for entire site (recommended), select/click “Delete Cache and Minified CSS/JS”. This should clear your site’s cache and you should be able to see the changes after you log out of WordPress.

*If you are still seeing errors or old content after Deleting the Cache and Minified CSS/JS, please contact us at our CFC Helpdesk and our team will troubleshoot the issue.
